Psp Tutorial, Alone

English Psp Tutorial
This tutorial was created with Corel X7.
However, it can also be done with other versions.
Thank you very much for the beautiful Translations.
You can access the translations by clicking on the flags.
I.C. NET Software – Filters Unlimited 2.0
BKg Designer sf10.II – DIS Refractor 1
VM Natural – Bubble Planet
Toadies – What are you?
Toadies – Ommadawn
Deco_Alone
Text2_Alone
Ildiko_Design@Sarolta_Mask_2
mentali-misted181
1Yoka-LadyInPastel-210217
Colors
 OR
OR 
Preparations
Make the background color : #3e3135
Open the mask in PSP and minimize them with the rest of the material.
We start working
1.
File – Open – Alpha_Alone
Window – Duplicate or Shift+D
(Close the original and proceed on the Copy)
Effects – Plugins – Mehdi Wayv Lab 1.1

Adjust – Blur – Gaussian Blur – Radius : 30
Layers – Duplicate
Effects – Plugins – I.C. NET Software – Filters Unlimited 2.0
BKg Designer sf10.II – DIS Refractor 1

Effects – Illumanition Effects – Sunburst

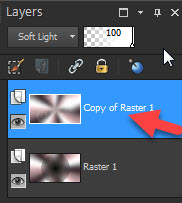
Layers – Properties – Blend Mode : Soft Light

2.
Activate the bottom Layer ( Raster 1 Layer )
Effects – Plugins – I.C. NET Software – Filters Unlimited 2.0
VM Natural – Bubble Planet : Default

Activate the Top Layer ( Copy of Raster 1 Layer )
Layers – New Raster Layer
Selections – Load/Save – Load Selection From Alpha Channel : Selection #1

Fill with the background color : #3e3135
Selection – Select None
Layers – New Raster Layer
Fill with the white color : #ffffff
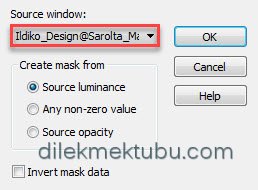
Layers – New Mask Layer – From Image – Ildiko_Design@Sarolta_Mask_2
Layers – Merge – Merge Group
Adjust – Sharpness – Sharpen
3.
Layers – New Raster Layer
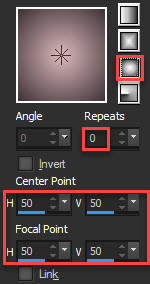
Set your foreground color to Foreground/Background Gradient.
Style : Sunburst – Repeats : 0
Selections – Load/Save – Load Selection From Alpha Channel : Selection #2
Fill with the gradient.
Selections – Select None
Efffects – Plugins – Toadies – What are you? : Default

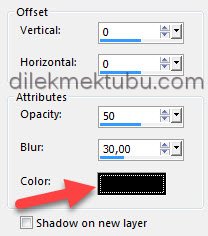
Effects – 3D Effects – Drop Shadow : 10 10 60 20 – Color : Black
Layers – Duplicate
Image – Mirror – Mirror Horizantal ( Mirror )
Layers – Arrange – Move Down : 2 Times
Result

4.
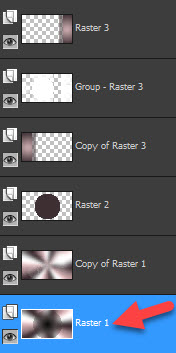
Activate the Bottom Layer ( Raster 1 Layer )
Selections – Load/Save – Load Selection From Alpha Channel : Selection #3
Selections – Promote Selection to Layer
Layers – Arrange – Bring to Top
Selections – Select None
Effects – Plugins – Toadies – Ommadawn : Default

Layers – Duplicate
Image – Mirror – Mirror Vertical ( Flip )
Layers – Merge – Merge Down
File – Open – Deco_Alone
Edit – Copy
Go back to your work.
Edit – Paste As New Layer
No need move.
Layers – Merge – Merge Visible
5.
Layers – New Raster Layer
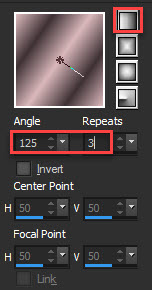
Set your foreground color to Foreground/Background Gradient : Linear

Selections – Load/Save – Load Selection From Alpha Channel : Selection #4
Fill with the gradient.
Adjust – Blur – Gaussian Blur – Radius : 30
Keep Selected.
Layers – Duplicate
Selections – Modify – Contract : 50 pixels

Layers – New Raster Layer
File – Open – mentali-misted181
Edit – Copy
Go back to your work.
Edit – Paste into Selection.
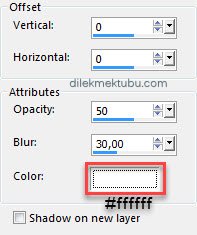
Effects – 3D Effects – Drop Shadow : 0 0 50 30 – Color : Black
Effects – Art Media Effects – Brush Strokes

Adjust – Sharpness – Sharpen
Selections – Select None
Image – Resize – 30 percent ( Resize all layers not checked )
Activate Pick Tool(K) ![]()
Position X : 13 – Position Y : 19
Effects – 3D Effects – Drop Shadow : 0 0 50 30 – Color : White
Layers – Duplicate
Effects – Image Effects – Offset – H :0 / V: -170

Repeat / Layers – Duplicate
Repeat Effects – Image Effects – Offset : Same Settings ( H:0 / V: -170 )
Result

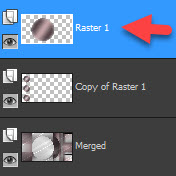
Layers – Merge – Merge Down : 2 Times
Layers – Arrange – Move Down
6.
Activate the Top Layer ( Raster 1 Layer)
Layers – New Raster Layer
Selections – Load/Save – Load Selection From Alpha Channel : Selection #5
File – Open – mentali-misted181
Edit – Copy
Go back to your work.
Edit – Paste into Selection.
Adjust – Sharpness – Sharpen
Effects – 3D Effects – Drop Shadow : 0 0 50 30 – Color : Black
Selections – Select None
Layers – Merge – Merge Down
7.
File – Open – Text_Alone
Edit – Copy
Go back to your work.
Edit – Paste As New Layer
No need move
Layers – Properties – Blend Mode : Luminance Legacy
Result

8.
Image Add Borders – 1 pixels – White : #ffffff
Image Add Borders – 1 pixels – Black : #000000
Selections – Select All
Image Add Borders 10 pixels – White : #ffffff
Selections – Invert
Fill with the gradient
Selections – Select None
Image Add Borders – 1 pixels – Black : #000000
Selections – Select All
Image Add Borders – 30 pixels – White : #ffffff
Selections – Invert
Set your foreground color to Foreground/Background Gradient : Sunburst
Fill with the gradient
Selections – Invert
Effects – 3D Effects – Drop Shadow : 0 0 50 30 – Color : Black
Selections – Select None
Optional
( If you don’t want to change your colors, skip this step. )
Effects – Plugins – AAA Filters – Custom : Landscape

9.
File – Open – 1Yoka-LadyInPastel-210217
Edit – Copy
Go back to your work.
Edit – Paste As New Layer
Image – Resize : 60 percent ( resize all layers not checked )
Image – Mirror – Mirror Horizontal ( Mirror )
Activate Pick Tool(K) ![]()
Position X : 603 – Position Y : 97
Adjust – Sharpness – Sharpen
Effects – 3D Effects – Drop Shadow : 0 0 50 30 – Color : Black
Image Add Borders – 1 pixels – Black : #000000
Write your signature.
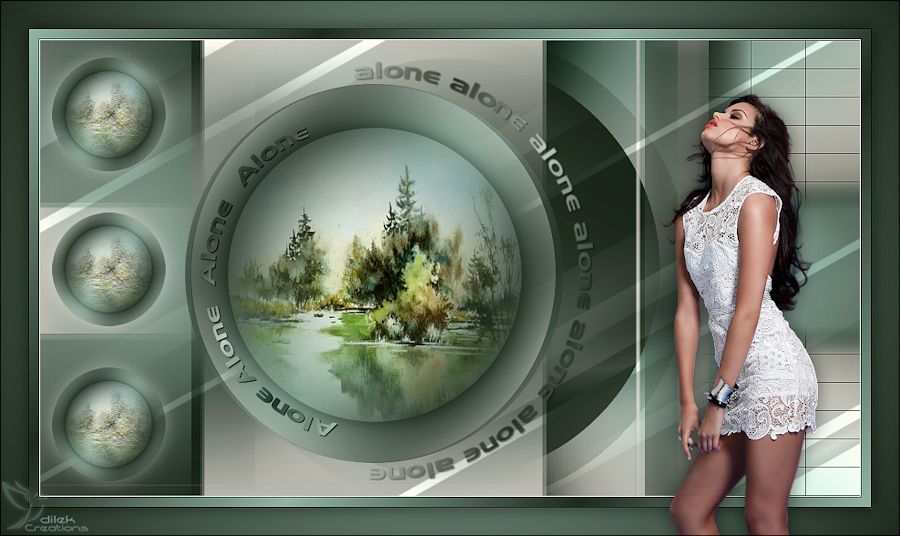
Image – Resize 900 pixels.
File Save as JPEG
Thank you so much.
For Example
Women Tube : Tocha ( Thank you)
Landscape Tube : Saturnella ( Thank you)
VERSIYONLARINIZ için TIKLAYIN


Yorum gönder
Yorum yapabilmek için oturum açmalısınız.