Psp Tutorial, Libertad
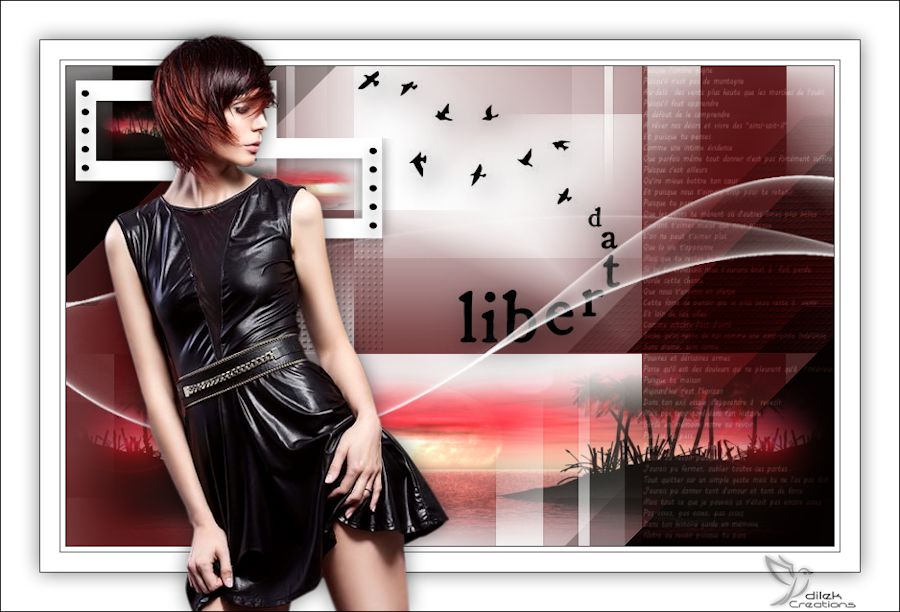
Libertad
This tutorial was created with Corel X7.
However, it can also be done with other versions.
Thank you very much for the beautiful Translations.
You can access the translations by clicking on the flags.
2115 – woman – LB TUBES
calguismistpr289
 or
or 


Open the masks in PSP and minimize them with the rest of the material.
You can change Blend Modes according to your colors.
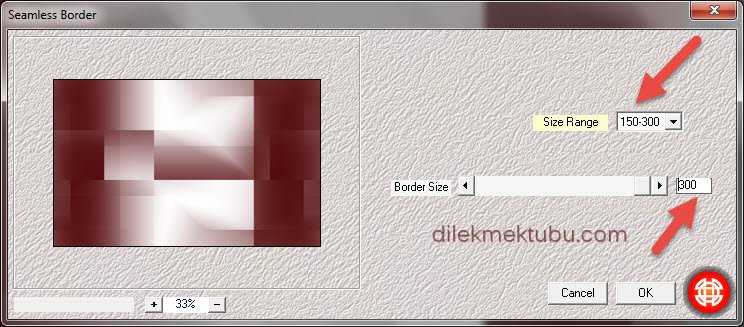
Effects – Plugins – Mehdi – Seamless Border
Layers – New Raster Layer
Selections – Load /Save Selection – Load Selection From Alpha Channel – Selection #1

File – Open – calguismistpr289
Edit – Copy
Go back to your work.
Edit – Paste in to Selection
Image – Mirror – Mirror Horizontal
Selections – Select None
Layers – New Raster Layer
Fill with the background color – #ffffff
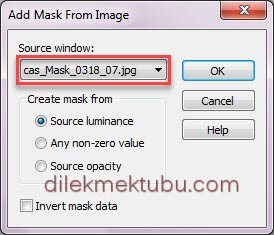
Layers – New Mask Layer – From image – cas_Mask_0318_07
Layers – Merge – Merge grup
Adjust – Sharpness – Sharpen
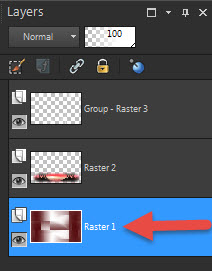
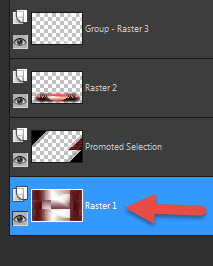
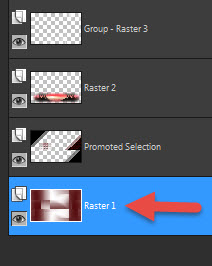
Activate Raster1 Layer
Selections – Load /Save Selection – Load Selection From Alpha Channel – Selection #2

Selections – Promete Selection to Layer
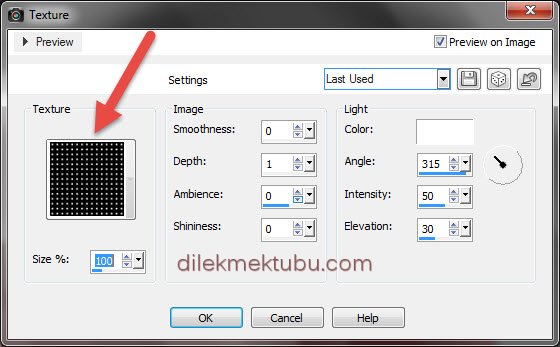
Effects – Texture Effects – Texture – Grid
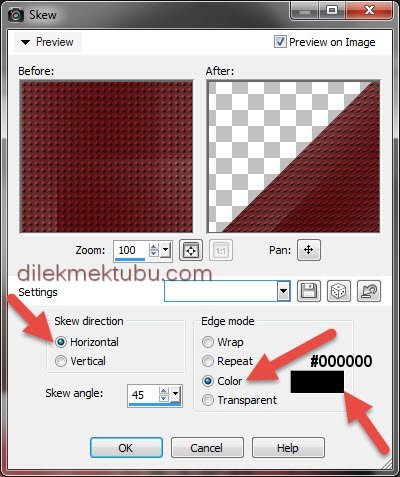
Effects – Geometrik Effects – Skew – Color – #000000
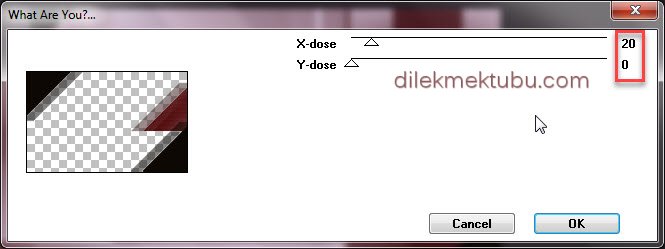
Effects – Plugins – Toadies – What are you?
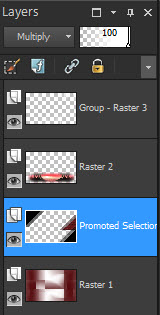
Layers – Properties – Blend Mode : Multiply
Result

3.
Activate the Raster1 Layer
Selections – Load /Save Selection – Load Selection From Alpha Channel – Selection #3

Selections – Promete Selection to Layer
Effects – Texture Effects – Texture – Grid – Same settings
Selection – Select None
Effects – Plugins – Toadies – What are you? – Same settings
Layers – Arrange – Move Up
Layers – Merge – Merge Down

Adjust – Sharpness – Sharpen
4.
Activate Raster1 Layer
Selections – Load /Save Selection – Load Selection From Alpha Channel – Selection #4

Selections – Promete Selection to Layer
Layers – Arrange – Bring to top
Fill with the background color – #ffffff
Sellections – Modify Contract – 30 pixel
Edit – Cut or Delete
File – Open – calguismistpr289
Edit – Copy
Go back to your work.
Edit – Paste in to Selection
Selections – Select None
Effects – 3D Effects – Drop Shadow

Image – Resize : 70 percent ( Resize all layers – not checked )
Layers – Duplicate
Effects – Image Effects – Offset

Layers – Arrange – Move Down
Activate the Top Layer
Layers – Merge – Merge Down

5.
File – Open – deco_1
Edit – Copy
Go back to your work.
Edit – Paste As New Layer
Effects – Image Effects – Offset

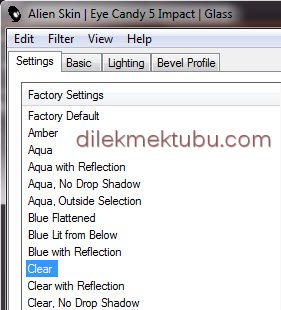
Effects – Plugins – Alien Skin Eye Candy 5: Impact – Glass – Clear
Layers – Duplicate
Effects – Image Effects – Offset

Layers – Merge – Merge Down
Repeat Layers Merge – Merge Down
File – Open – deco_2
Edit – Copy
Go back to your work.
Edit – Paste As New Layer
Activate Pick Tool ![]()

Layers – Properties – Blend Mode – Soft Light
File – Open – deco_3
Edit – Copy
Go back to your work.
Edit – Paste As New Layer
![]()
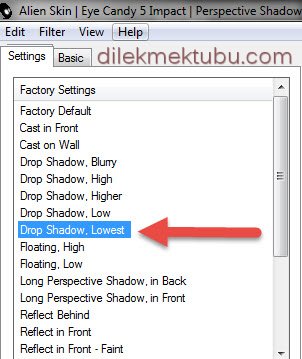
Effects – Plugins – Alien Skin Eye Candy 5: Impact – Perspective Shadow
Layers – New Raster Layer
Fill with the background color – #ffffff
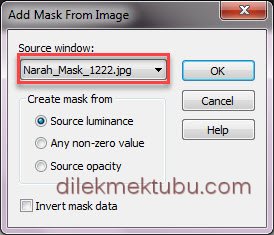
Layers – New Mask Layer – From image – Narah_Mask_1222
Layers – Merge – Merge Grup
6.
Image – Add Borders 1 Pixel – #000000
Image – Add Borders 5 Pixel – #ffffff
Image – Add Borders 1 Pixel – #000000
Image – Add Borders 20 Pixel – #ffffff
Image – Add Borders 1 Pixel – #000000
Selections – Select All
Image – Add Borders 40 Pixel – #ffffff
Effects – 3D Effects – Drop Shadow – Same Settings
Selections – Select None
File – Open – 2115 – woman – LB TUBES
Edit – Copy
Go back to your work.
Edit – Paste As New Layer
Image Resize : 90 percent ( Resize all layers – not checked )
Effects – Image Effects – Offset

Adjust – Sharpness – Sharpen
Effects – 3D Effects – Drop Shadow – Same Settings
Write your signature
Image – Add Borders 1 Pixel – #000000
Image Resize : 900 piksel
File Save as JPEG
Thank you so much.
For Example

Women Tube : Colybrix
Paysage Tube : Jewel


Yorum gönder
Yorum yapabilmek için oturum açmalısınız.