Psp Tutorial – Katy – English Translation

KATY
English Psp Tutorial – Translation
Thank you Jolcsi for your permission to translate your tutorials.
You can find the original lesson by clicking on the banner.
This tutorial is translated with Corel PSP X7.
Your Versions HERE
Plugins
Alien Skin Eye Candy5 – Impact – Glass
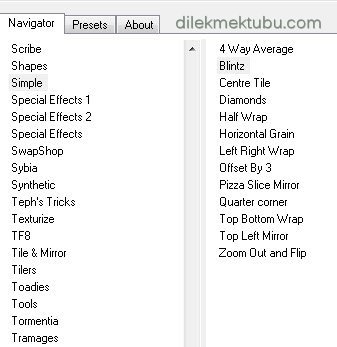
Filters Unlimited – Simple
Cybia – Screen Works
Materials
Tube : Jolcsi
Virág : Jolcsi
Dísz : Jolcsi
 or
or 
Colors
1 – #677769
2 – #c6cdb8
Preparations
Make the foreground color : #677769
Make the background color : #c6cdb8

Copy the Selections in the Selections Folder.
We start working
1.
Open the new transparent image of 900 x 600 pixels.
Selections – Select All
File – Open – háttér
Edit – Copy
Go back to your work.
Edit – Paste into Selection.
Adjust – Blur – Gaussian Blur / Radius : 25
Selections – Select None
2.
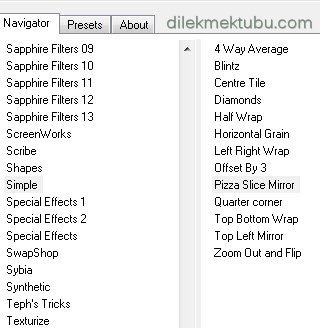
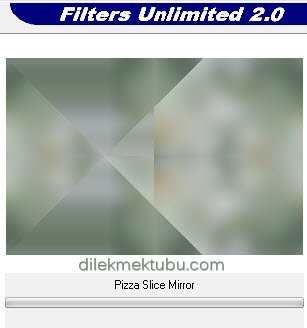
Effects – Plugins – I.C. NET Software – Filters Unlimited 2.0
Simple – Pizza Slice Mirror
3.
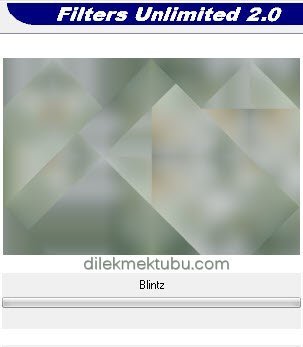
Effects – Plugins – I.C. NET Software – Filters Unlimited 2.0
Simple – Blintz
Layers – Duplicate
Image – Mirror ( Mirror – Horizontal )
Layers – Properties – Opacity : 50
Layers – Merge – Merge Down
Adjust – Sharpness – Sharpen
4.
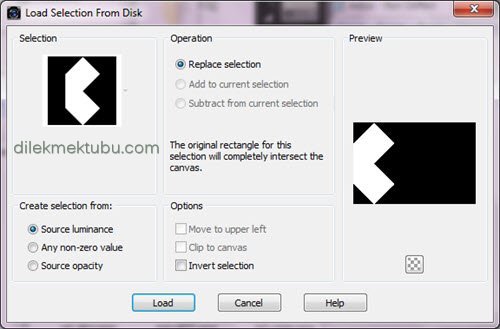
Selections – Load/Save – Load Selection From Disk : 2454
Selections – Promote Selection to Layer
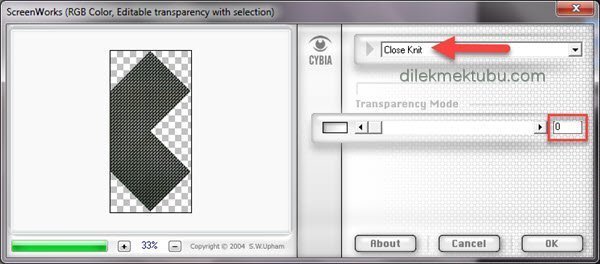
Effects – Plugins – Cybia – Screen Works : Close Knit
Adjust – Sharpness – Sharpen
Effects – 3D Effects – Drop Shadow : 0 / 0 / 80 / 40 – Color : #000000
Selections – Select None
Effects – Image Effects – Seamless Tiling : Default
5.
Again
Selections – Load/Save – Load Selection From Disk : 2454
Selections – Modify – Select Selection Borders
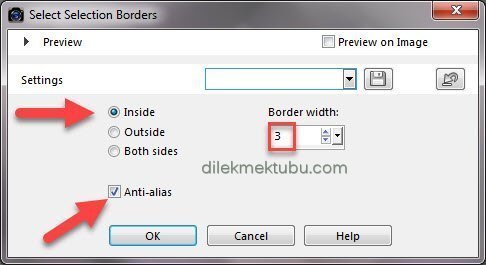
Fill with the foreground color : #677769
Selections – Select None
6.
Repeat Again
Selections – Load/Save – Load Selection From Disk : 2454
Selections – Modify – Contract : 40 pixels
Layers – New Raster Layer
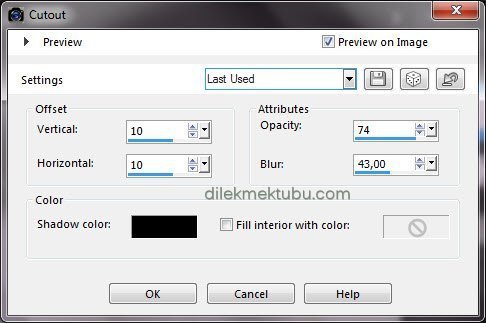
Effects – 3D Effect – Cutout
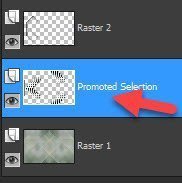
Activate the Promoted Selection Layer
7.
Selections – Modify – Select Selection Borders
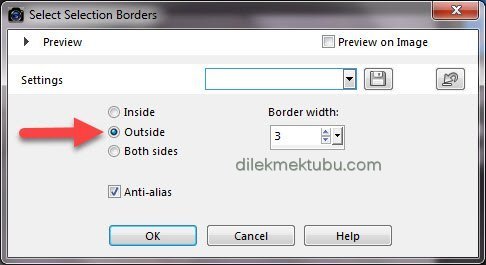
Fill with the foreground color : #677769
Selections – Select None
Layers – Duplicate
Image – Mirror ( Mirror – Horizontal )
Layers – Arrange – Move Down
8.
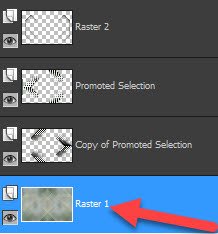
Activate the Top Layer ( Raster 2 )
Layers – Duplicate
Image – Mirror ( Mirror – Horizontal )
Layers – Merge – Merge Down
9.
Activate the Raster 1 Layer
Selections – Load/Save – Load Selection From Disk : 2454a

Selections – Promote Selection to Layer
Adjust – Blur -Gaussian Blur : Same Settings
Layers – New Raster Layer
10.
File – Open – “jol_virág”
Edit – Copy
Go back to your work.
Edit – Paste Into Selection
Layers – Properties – Opacity : 80
Layers – Merge – Merge Down
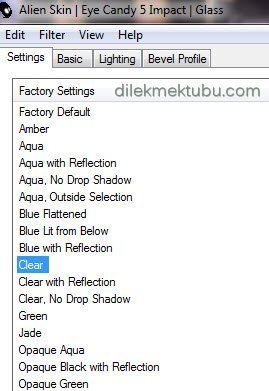
Effects – Plugins – Alien Skin Eye Candy 5:Impact / Glass : Clear
Adjust – Sharpness – Sharpen
Selections – Select None
11.
Activate the Top Layer
File – Open – “Jolcsi632”
Edit – Copy
Go back to your work.
Edit – Paste As New Layer
Image – Resize : 70 percent
( Resize all layers not checked )
Place and shade as desired.
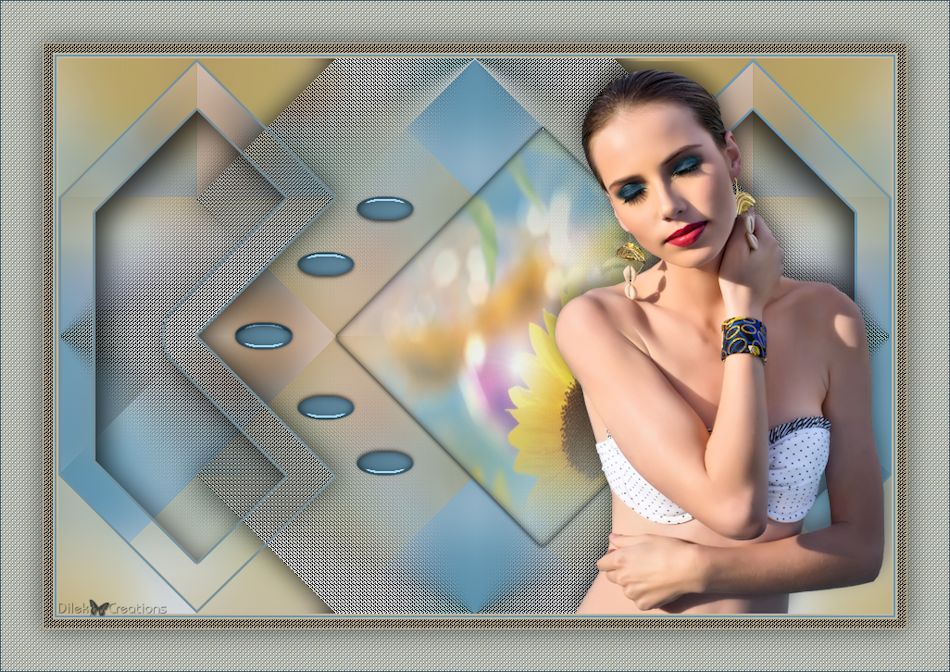
Result

12.
File – Open – “jol_dísz”
Edit – Copy
Go back to your work.
Edit – Paste As New Layer
Activate the Pick Tool (K)
Position X : 186 / Position Y : 145
Press M to close the Pick Tool.
Layers – Duplicate
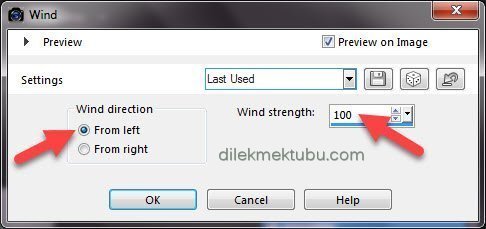
Effects – Distortion Effects – Wind
Layers – Arrange – Move Down
13.
Image Add Borders 2 pixels background color : #c6cdb8
Image Add Borders 2 pixels foreground color : #677769
Image Add Borders 2 pixels background color : #c6cdb8
Selections – Select All
Image Add Borders 10 pixels background color : #c6cdb8
Selections – Invert
14.
Effects – Plugins – Cybia – Screen Works : Same Settings
Selections – Select None
Image Add Borders 1 pixels background color : #c6cdb8
Selections – Select All
Image Add Borders 45 pixels background color : #c6cdb8
Selections – Invert
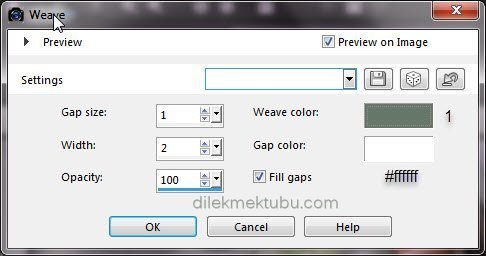
Effects – Texture effects – Weave
Selections – Invert
Effects – 3D Effects – Drop Shadow : 0 / 0 / 55 / 40 – Color : #000000
Selections – Select None
Write your signature.
Image Add Borders 1 pixels foreground color : #677769
Image – Resize : 950 pixels. ( Resize all layers checked )
File Save as JPEG.
Thank you so much.
For Example
Women Tube – Azalee ( Thank you )


You can find the original lesson by clicking on the banner.
This tutorial is translated with Corel PSP X7.
Your Versions HERE
Plugins
Alien Skin Eye Candy5 – Impact – Glass
Filters Unlimited – Simple
Cybia – Screen Works
Materials
Tube : Jolcsi
Virág : Jolcsi
Dísz : Jolcsi
or Colors

1 – #677769
2 – #c6cdb8
Preparations
Make the foreground color : #677769
Make the background color : #c6cdb8

Copy the Selections in the Selections Folder.
We start working
1.
Open the new transparent image of 900 x 600 pixels.
Selections – Select All
File – Open – háttér
Edit – Copy
Go back to your work.
Edit – Paste into Selection.
Adjust – Blur – Gaussian Blur / Radius : 25
Selections – Select None
2.
Effects – Plugins – I.C. NET Software – Filters Unlimited 2.0
Simple – Pizza Slice Mirror


3.
Effects – Plugins – I.C. NET Software – Filters Unlimited 2.0
Simple – Blintz


Layers – Duplicate
Image – Mirror ( Mirror – Horizontal )
Layers – Properties – Opacity : 50
Layers – Merge – Merge Down
Adjust – Sharpness – Sharpen
4.
Selections – Load/Save – Load Selection From Disk : 2454

Selections – Promote Selection to Layer
Effects – Plugins – Cybia – Screen Works : Close Knit

Adjust – Sharpness – Sharpen
Effects – 3D Effects – Drop Shadow : 0 / 0 / 80 / 40 – Color : #000000
Selections – Select None
Effects – Image Effects – Seamless Tiling : Default
5.
Again
Selections – Load/Save – Load Selection From Disk : 2454
Selections – Modify – Select Selection Borders

Fill with the foreground color : #677769
Selections – Select None
6.
Repeat Again
Selections – Load/Save – Load Selection From Disk : 2454
Selections – Modify – Contract : 40 pixels
Layers – New Raster Layer
Effects – 3D Effect – Cutout

Activate the Promoted Selection Layer

7.
Selections – Modify – Select Selection Borders

Fill with the foreground color : #677769
Selections – Select None
Layers – Duplicate
Image – Mirror ( Mirror – Horizontal )
Layers – Arrange – Move Down
8.
Activate the Top Layer ( Raster 2 )
Layers – Duplicate
Image – Mirror ( Mirror – Horizontal )
Layers – Merge – Merge Down
9.
Activate the Raster 1 Layer

Selections – Load/Save – Load Selection From Disk : 2454a

Selections – Promote Selection to Layer
Adjust – Blur -Gaussian Blur : Same Settings
Layers – New Raster Layer
10.
File – Open – “jol_virág”
Edit – Copy
Go back to your work.
Edit – Paste Into Selection
Layers – Properties – Opacity : 80
Layers – Merge – Merge Down
Effects – Plugins – Alien Skin Eye Candy 5:Impact / Glass : Clear

Adjust – Sharpness – Sharpen
Selections – Select None
11.
Activate the Top Layer
File – Open – “Jolcsi632”
Edit – Copy
Go back to your work.
Edit – Paste As New Layer
Image – Resize : 70 percent
( Resize all layers not checked )
Place and shade as desired.
Result

12.
File – Open – “jol_dísz”
Edit – Copy
Go back to your work.
Edit – Paste As New Layer
Activate the Pick Tool (K)
Position X : 186 / Position Y : 145
Press M to close the Pick Tool.
Layers – Duplicate
Effects – Distortion Effects – Wind

Layers – Arrange – Move Down
13.
Image Add Borders 2 pixels background color : #c6cdb8
Image Add Borders 2 pixels foreground color : #677769
Image Add Borders 2 pixels background color : #c6cdb8
Selections – Select All
Image Add Borders 10 pixels background color : #c6cdb8
Selections – Invert
14.
Effects – Plugins – Cybia – Screen Works : Same Settings
Selections – Select None
Image Add Borders 1 pixels background color : #c6cdb8
Selections – Select All
Image Add Borders 45 pixels background color : #c6cdb8
Selections – Invert
Effects – Texture effects – Weave

Selections – Invert
Effects – 3D Effects – Drop Shadow : 0 / 0 / 55 / 40 – Color : #000000
Selections – Select None
Write your signature.
Image Add Borders 1 pixels foreground color : #677769
Image – Resize : 950 pixels. ( Resize all layers checked )
File Save as JPEG.
Thank you so much.
For Example

Women Tube – Azalee ( Thank you )
I would be very happy if you send your nice works to my e-mail address.
My Mail Adress
dilekmektubu@gmail.com
Yorum gönder
Yorum yapabilmek için oturum açmalısınız.