 OR
OR 

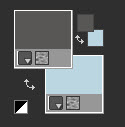
1 – #585856
2 – #bbd6e1
3 – #ffc0c0
Preparations
Make the foreground color : #585856
Make the background color : #bbd6e1
Open the masks in PSP and minimize it with the rest of the material.
We start working
1.

Adjust – Blur – Gaussian Blur – Radius : 30
Effects – Plugins – Mehdi – Sorting Tiles

Effects – Edge Effects – Enhance
Effects – Image Efffects – Seamless Tiling : Default
Adjust – Add/Remove Noise – Add Noise

Effects – Plugins – Filters Unlimited 2.0 – Bkg Designer 10I – Cruncher

2.
Layers – New Raster Layer
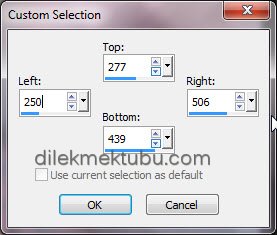
Activate the Selection Tool ![]() Custom selection
Custom selection
![]()
Fill with the gradient.

Selections – Select None
Effects – Distortion effects – Twirl – Degrees : 720
Effects – Plugins – MuRa’s Meister – Copies

Layers – Properties – Blend Mode : Luminance (Legacy)
Adjust – Sharpness – Sharpen
Image – Resize 90 percent ( resize all layers not checked )
Image – Free Rotate

3.
Activate the Pick Tool (K) ![]()
Position X: 523.00 – Position Y: 280.00
Press (M) to close the Pick Tool
Effects – Reflection effects – Rotating Mirror

Activate the Raster 1 Layer
Activate the Selection Tool ![]() Custom selection
Custom selection

Selections – Promote Selection to Layer
Effects – Plugins – Flaming Pear – Flood

Selections – Invert
Selections – Modify – Feather – ( Amount : 15 )
Delete : 4 times
Selections – Select None
4.
Activate the Raster 1 Layer
Selections – Load/Save Selection – Load Selection From Disk – Select : 2406

Selections – Promote Selection to Layer
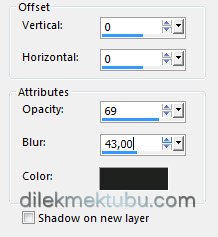
Effects – 3D Effects – Drop Shadow

Selections – Select None
Activate the Raster 1 Layer
Layers – New Raster Layer
Fill with the background color : #bbd6e1
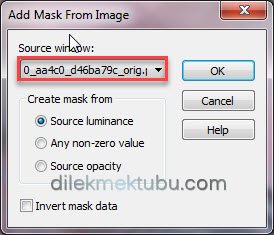
Layers – New Mask Layer – From Image : 0_aa4c0_d46ba79c_orig
Effects – Edge Effects – Enhance
Layers – Merge – Merge Group
Layers – Properties – Blend Mode : Luminance (Legacy)
Fill with the background color : #bbd6e1
Layers – New Mask Layer – From Image : Masque-62-azalee

Effects – Edge Effects – Enhance
Layers – Merge – Merge Group
Layers – Properties – Blend Mode : Luminance (Legacy)
Effects – 3D Effects – Drop Shadow : Same Settings
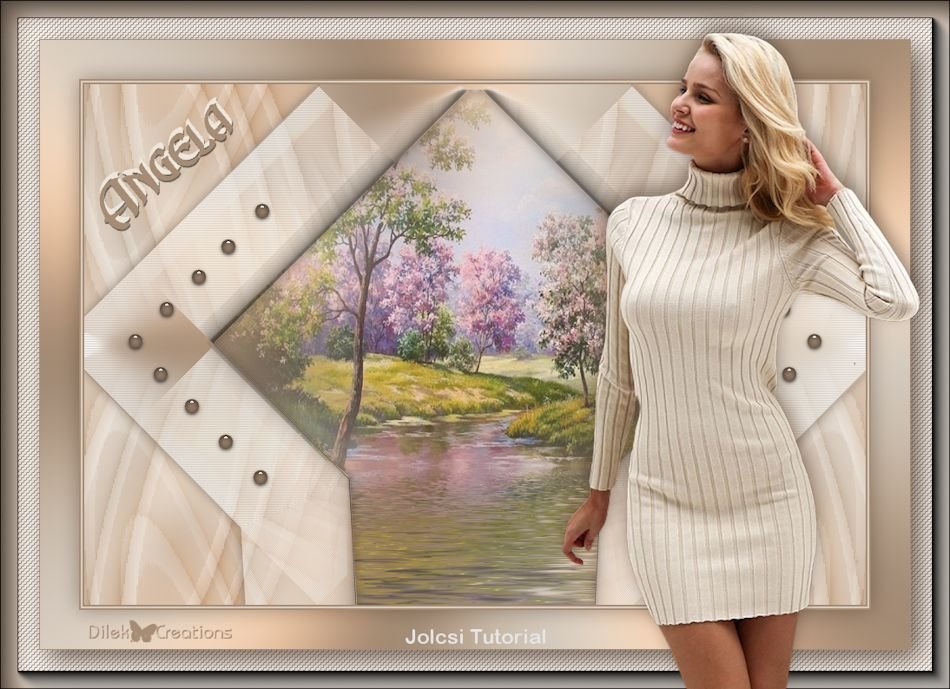
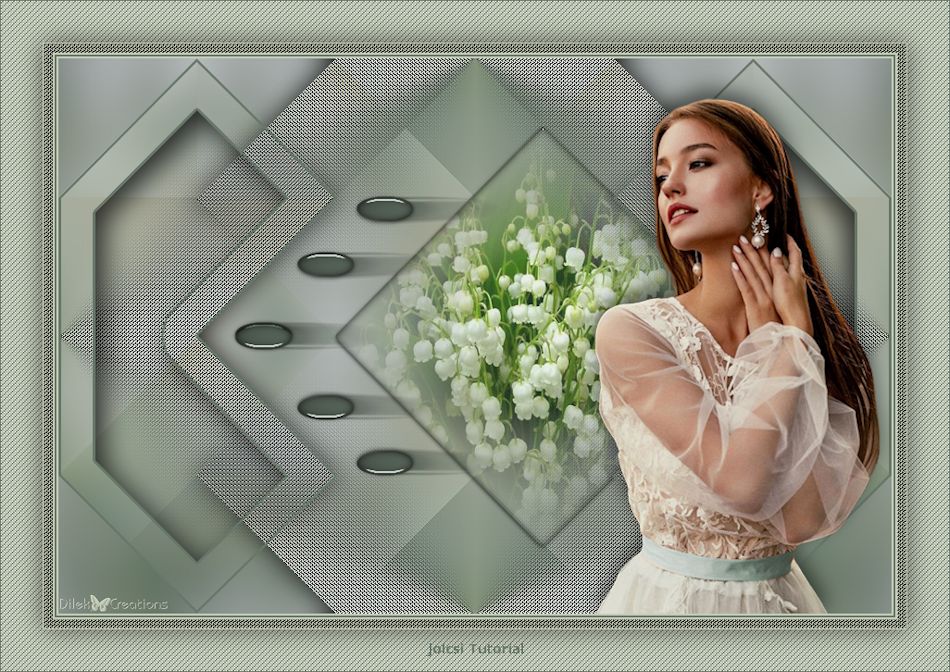
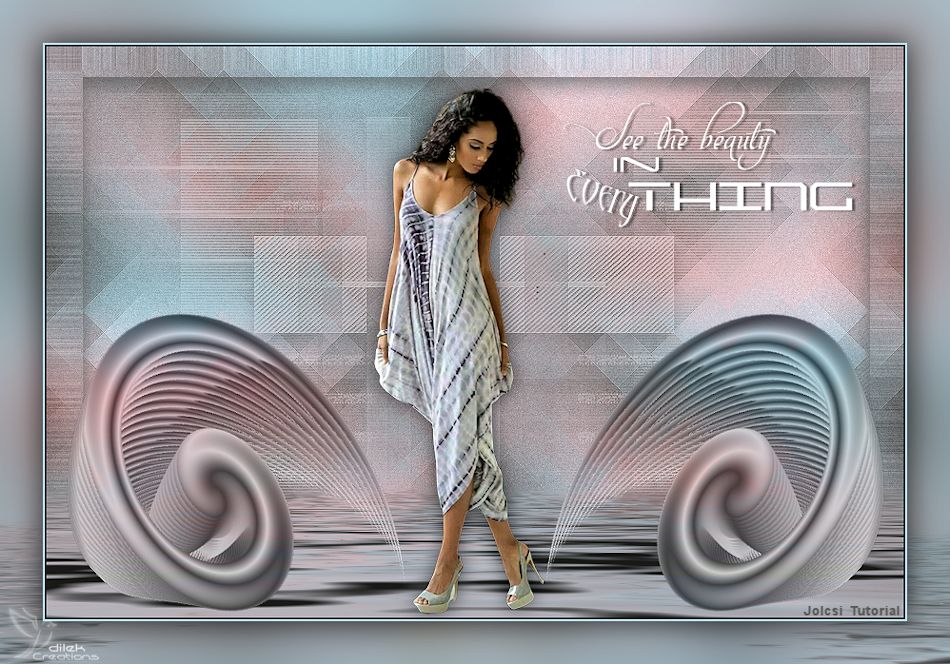
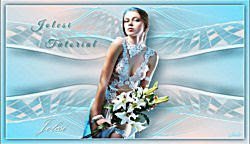
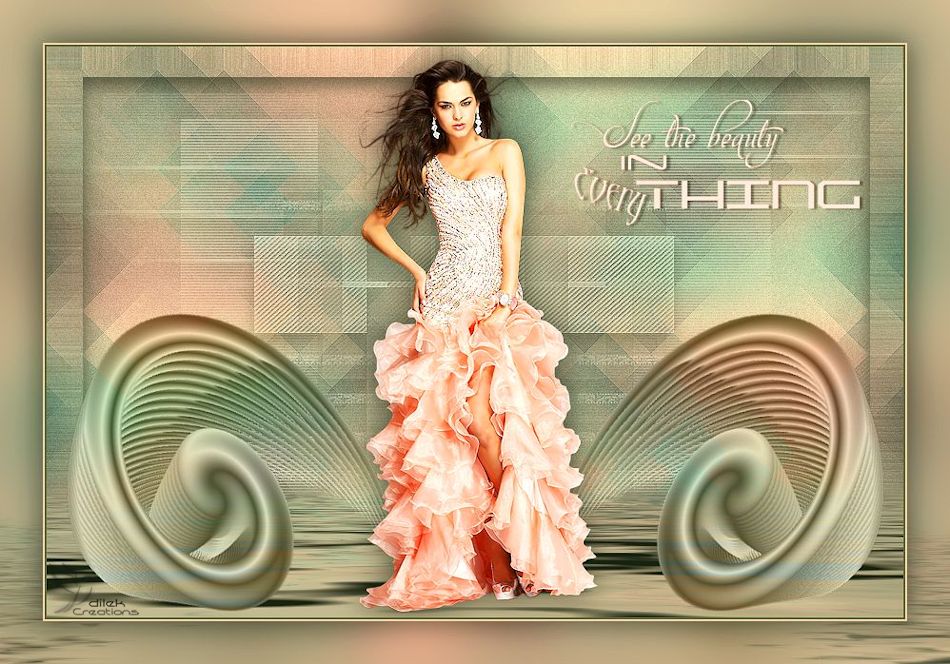
Result

5.
Activate the Raster 2 Layer

File – Open : Jolcsi40
Edit – Copy
Go back to your work.
Edit – Paste As New Layer
Image – Resize : 70 percent ( resize all layers not checked )
Position it as shown.
Shadow as you like.
6.
Image Add Borders 2 pixels foreground color : #585856
Image Add Borders 2 pixels background color : #bbd6e1
Edit – Copy
Selections – Select All
Image Add Borders 45 pixels background color : #bbd6e1
Selections – Invert
Edit – Paste Into Selection
Adjust – Blur – Gaussian Blur ( Radius:30 )
Selections – Promote Selection to Layer
Effects – Plugins – Flaming Pear – Flood

Selections – Select None
Activate the Magic Wand Tool ![]()
![]()
It’s quite difficult to select!
You have to click several times!

7.
Selections – Modify – Feather – ( Amount : 15 )
Delete : 4 times
Layers – Merge – Merge Down
Selections – Select All
Selections – Modify – Contract ( 45 pixels )
Effects – 3D Effects – Drop Shadow
Selections – Select None
File – Open : text
Edit – Copy
Go back to your work.
Edit – Paste As New Layer
Position it as shown.
We color it with our light color.
Adjust – Hue and Saturation – Colorize
Layers – Merge – Merge Visible
Adjust – Smart Photo Fix

Write your signature.
File Save as JPEG.
Thank you so much.
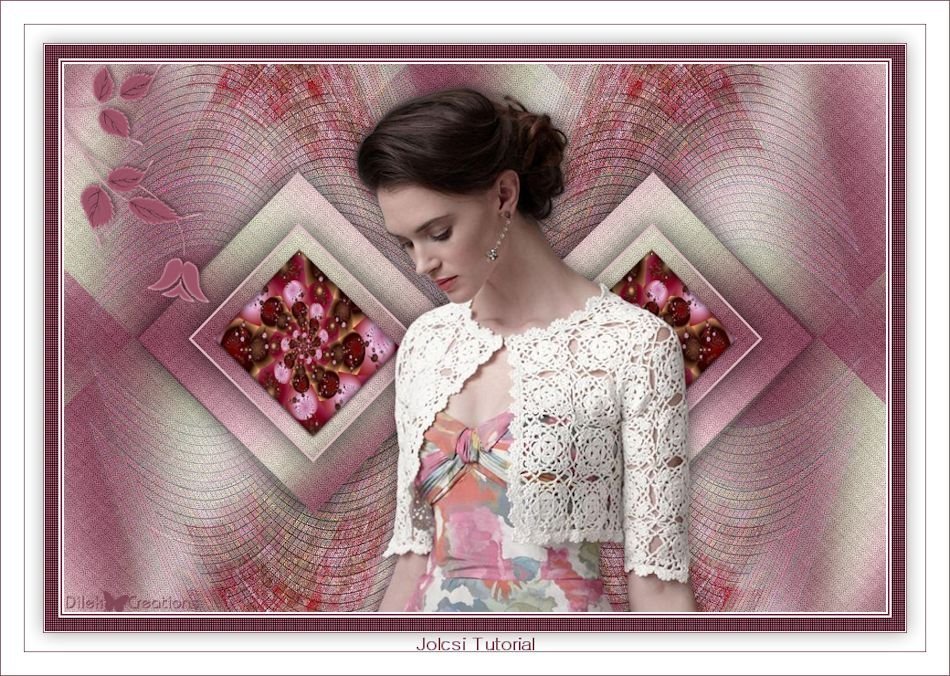
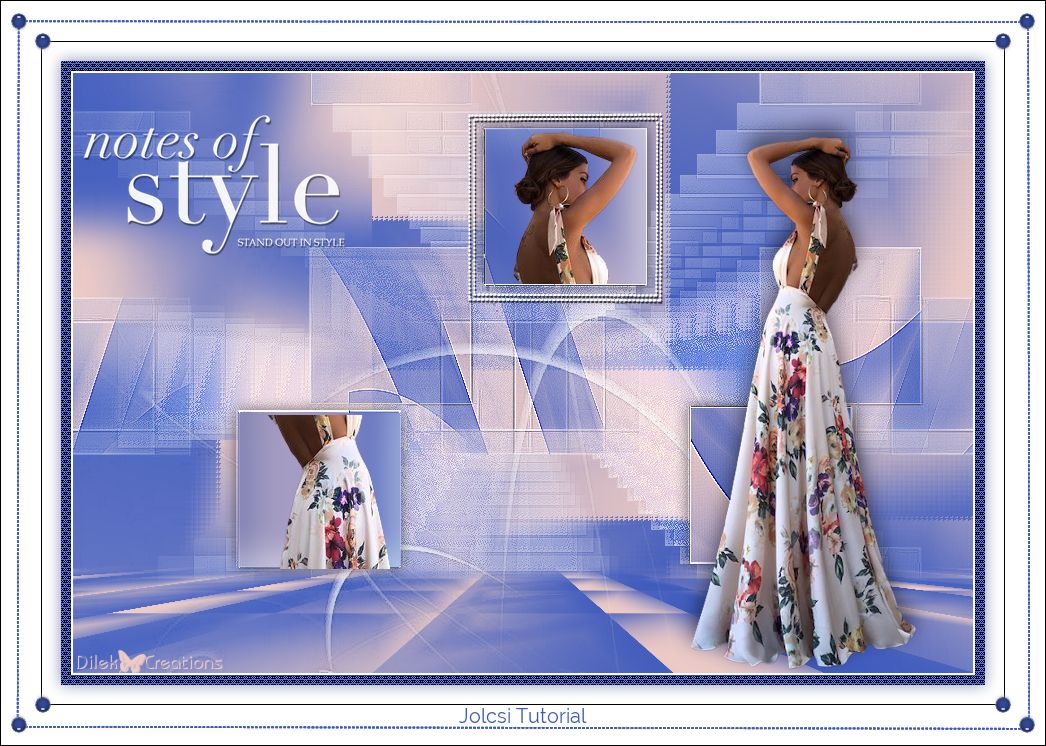
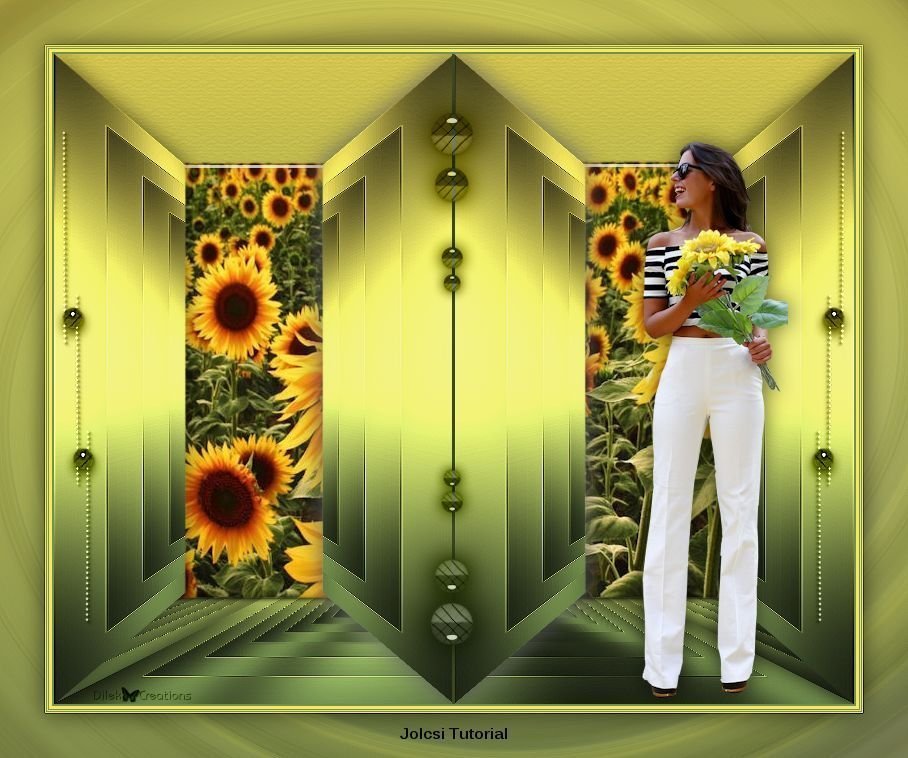
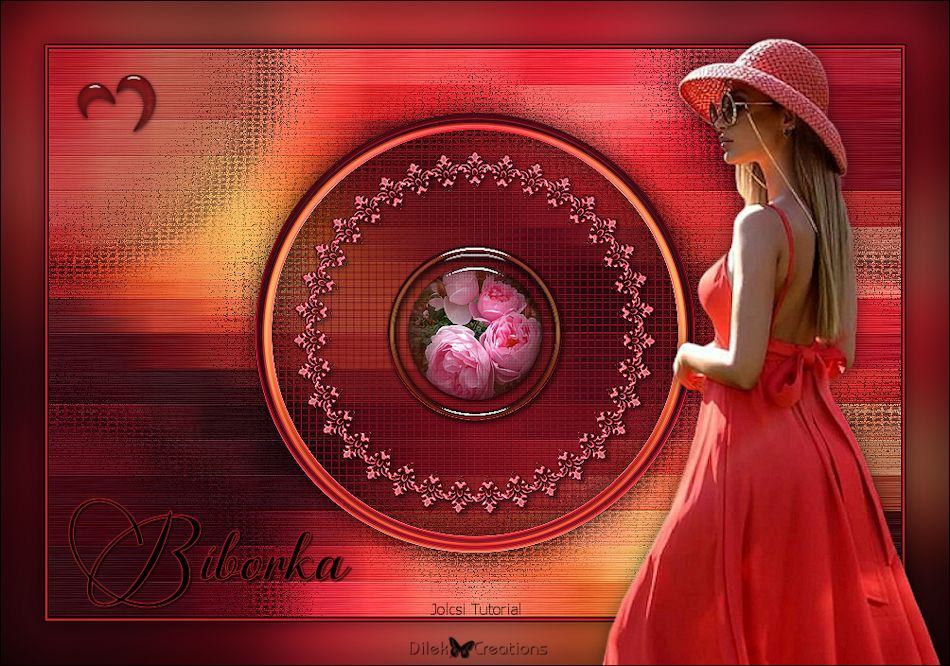
For Example
Women Tube – Grisi