
AUTUMN
This tutorial was created with Corel X7.
However, it can also be done with other versions.
Thank you very much for the beautiful Translations.
You can access the translations by clicking on the flags.
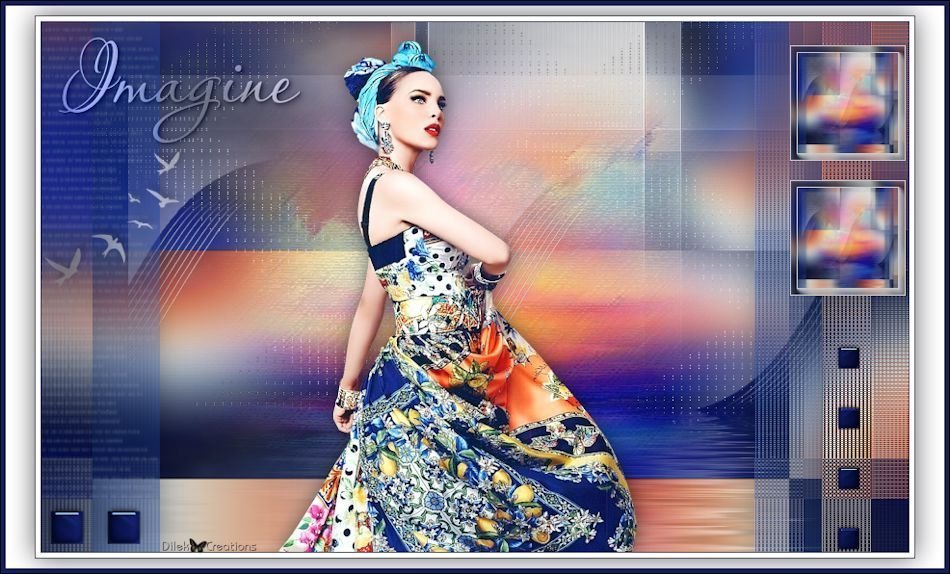
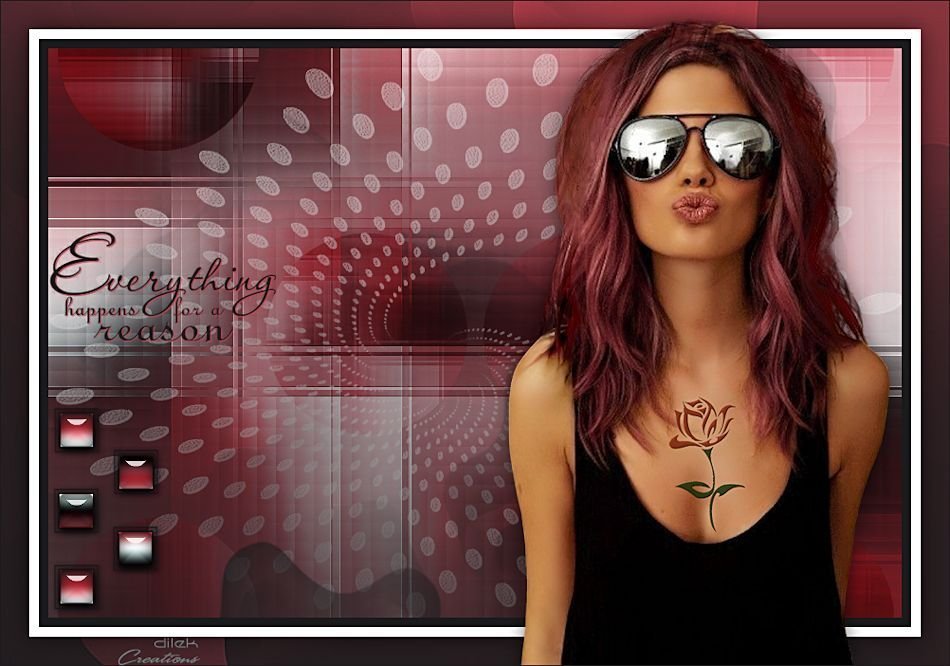
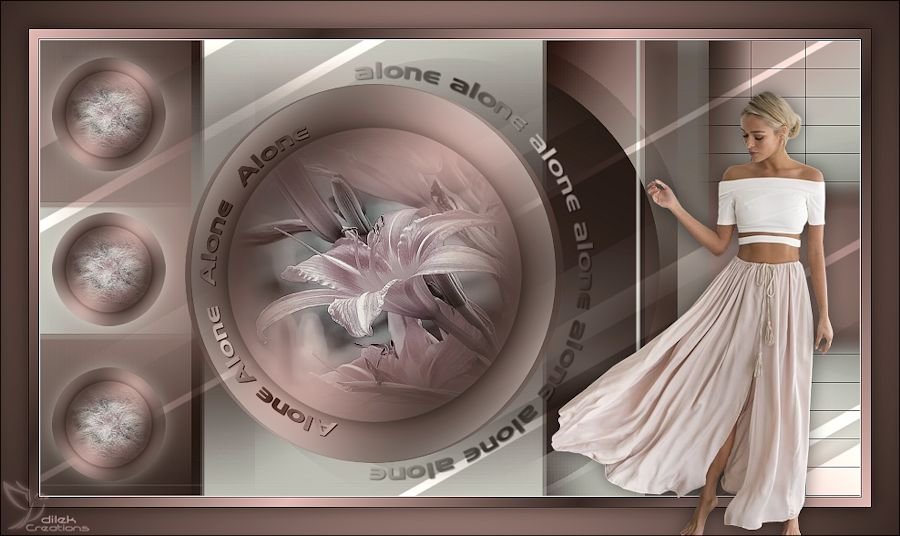
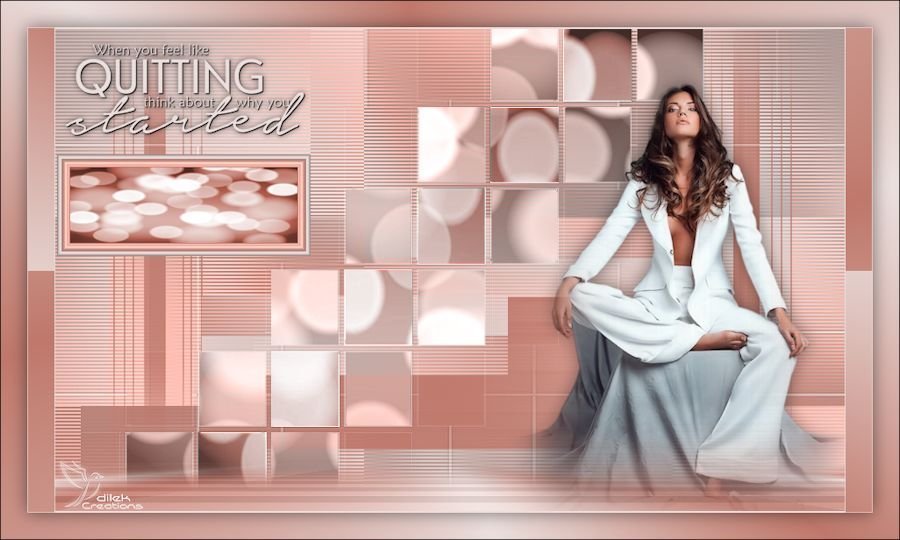
Your Versions HERE ![]()
Plugins
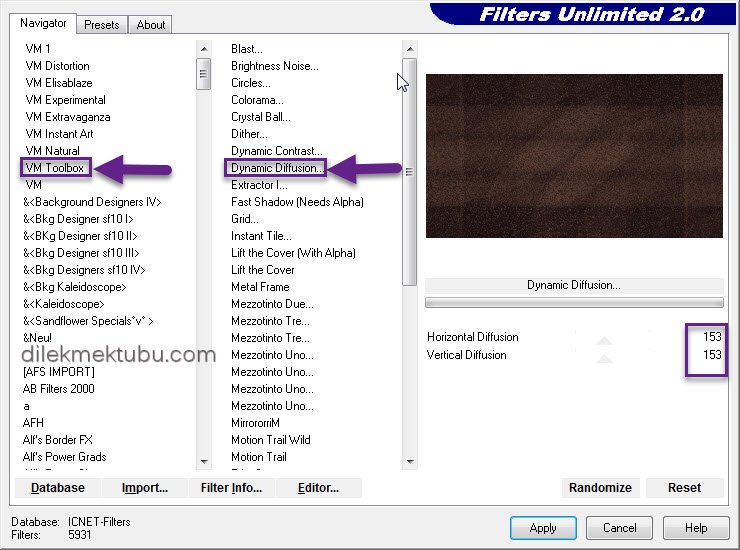
VM Toolbox – Dynamic Diffussion
Graphics Plus – Cross Shadow
Alien Skin Eye Candy 5 Impact – Perspective Shadow
Alien Skin Eye Candy 5 Impact – Glass
AlfaLayer – Autumn
Mask – catherin36f2af
Mask030-Mony C Designs
Narah_Mask_1472
AUT0006- tube Isa
AUT0006 – Isa
Autumn-deco1
Autumn-deco2
Tocha24217
Colors
 or
or 
Preparations
Make your foreground color : #785444
Make the background color : #1a1011

Gradient Setting

1.
File Open – Autumn-AlphaLayer from tray
(This image contains Alpha Selections) Window – Duplicate
(or Shift+D)
Fill with Background Color – #1a1011
Layers – New Raster Layer
Fill with Foreground Color – #785444
Layers – New Mask Layer – From Image – catherin36f2af.jpg

Layers – Merge – Merge Group
Adjust – Sharpness – Sharpen
Layers – Merge – Merge Down
Effects – I.C.NET Software – Filter Unlimited 2.0
VM Toolbox – Dynamic Diffussion
Adjust – Sharpness – Sharpen
2.
File – Open – AUT0006- tube Isa.png
Edit – Copy
Go back to your work.
Edit – Paste As New Layer
Layers – Blend Mode – Soft Light
Layers – New Raster Layer
Fill with White ( ffffff ) Color
Layers – New Mask Layer – From Image – Mask030-Mony C Designs

Layers – Merge – Merge Group
Layers – Blend Mode – Soft Light
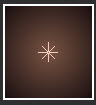
Result

3.
Layers – New Raster Layer
Selections – Load/Save – Load Selection From Alpha Channel – Selection#1

Fill with Background Color – #1a1011
Selections – Select None
Layers – Blend Mode – Soft Light
Layers – New Raster Layer
Fill with White ( ffffff ) Color
Layers – New Mask Layer – From Image – Narah_Mask_1472
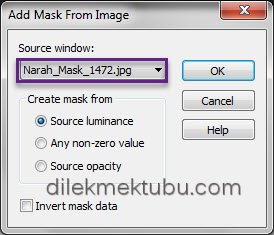
Image – Mirror
Layers – Merge – Merge Group
Layers – Blend Mode – Soft Light
4.
Layers – New Raster Layer
Selections – Load/Save – Load Selection From Alpha Channel – Selection#1
Fill with Background Color – #1a1011
Selections – Modify – Contract 5 Pixel
Fill with Foreground Color – #785444
Selections – Modify – Contract 5 Pixel
Edit – Cut or Delete
Selections – Select None
Effects – 3D Effect – Drop Shadow

5.
Layers – New Raster Layer
Selections – Load/Save – Load Selection From Alpha Channel – Selection#2

Fill with the Foreground Color – #785444
Selections – Select None
Effects – 3D Effect – Drop Shadow

Effects – Graphics Plus – Cross Shadow

6.
Layers – New Raster Layer
Selections – Load/Save – Load Selection From Alpha Channel – Selection#3

Fill with the Foreground Color – #785444
Effects – Carolaine and Sensibility – CS-LDots

Selections – Select None
Effects – Graphics Plus – Cross Shadow

Effects – 3D Effect – Drop Shadow
7.
Layers – New Raster Layer
Selections – Load/Save – Load Selection From Alpha Channel – Selection#4

Fill with the Gradient
Selections – Select None
Selections – Load/Save – Load Selection From Alpha Channel – Selection#5

Fill with Background Color – #1a1011
Effects – Carolaine and Sensibility – CS-LDots

Selections – Select None
Effects – 3D Effect – Drop Shadow

8.
Layers – New Raster Layer
Selections – Load/Save – Load Selection From Alpha Channel – Selection#6

Fill with the Gradient
Selections – Select None
Effects – Alien Skin Eye Candy 5 Impact – Perspective Shadow
Drop Shadow Blurry

9.
Layers – New Raster Layer
Selections – Load/Save – Load Selection From Alpha Channel – Selection#7

Fill with Foreground Color – #785444
Selections – Modify Contract – 5 Pixel
Fill with the Gradient

File – Open – AUT0006- tube Isa.png
Edit – Copy
Go back to your work.
Edit – Paste into Selection
Adjust – Sharpness – Sharpen
Effects – Alien Skin Eye Candy 5 Impact – Glass – Autumn-Dilek

Selections – Select None
Effects – 3D Effect – Drop Shadow
Layers – Merge – Merge Visible
Result

10.
File – Open – Autumn-deco1
Edit – Copy
Go back to your work.
Edit – Paste As New Layer
No Need Move
File – Open – Autumn-deco2
Edit – Copy
Go back to your work.
Edit – Paste As New Layer
No Need Move
11.
Layers – New Raster Layer
Selections – Load/Save – Load Selection From Alpha Channel – Selection#8

Fill with the Foreground Color – #785444
Selections – Select None
Layers – New Raster Layer
Selections – Load/Save – Load Selection From Alpha Channel – Selection#9

Fill with Foreground Color – #785444
Effects – Carolaine and Sensibility – CS-LDots

Selections – Select None
Effects – Alien Skin Eye Candy 5 Impact – Perspective Shadow
Reflect in Front – Sharp

It is up to you to use this effect (Cross shadow) in this section.
Effects – Graphics Plus – Cross Shadow

Result

12.
Image – Add Border – 1 Pixel #000000 (Black)
Image – Add Border – 5 Pixel Foreground Color – #785444
Image – Add Border – 1 Pixel #000000 (Black)
Image – Add Border – 10 Pixel Foreground Color – #785444
Image – Add Border – 1 Pixel #000000 (Black)
Sections – Select All
Image – Add Border – 30 Pixel #ffffff (White)
Selections – Invert
Fill with Gradient
Selections – Invert
Effects – 3D Effect – Drop Shadow

Selections – Select None
Image – Add Border – 1 Pixel #000000 (Black)
Image – Add Border – 3 Pixel Foreground Color – #785444
13.
File – Open – Tocha24217
Edit – Copy
Go back to your work.
Edit – Paste As New Layer
Image – Resize 65 Percent
Place it in the appropriate place
Adjust – Sharpness – Sharpen
Effects – 3D Effect – Drop Shadow
Put Your Watermark
Image – Add Border – 1 Pixel #000000 (Black)
Image – Resize : 900 Pixels
File Save as JPEG
For Example

Women Tube – Picsfordesign – Oliver
Misted Tube – Isa

VERSİYONLARINIZ için TIKLAYIN

I would be very happy if you could send your nice work to my e-mail address.